

How To: Adventures in Food Storage with Mylar Bags
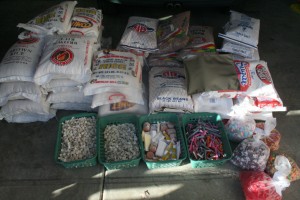
There are several options available to us for long term storage of bulk food - 5 gallon buckets, #10 cans and Mylar Bags are some of the most popular. In this post we’ll be going over the advantages and disadvantages of Mylar Bags and how to use a Mylar Bag Sealer. Specifically, we’re going to show how to turn all of this:
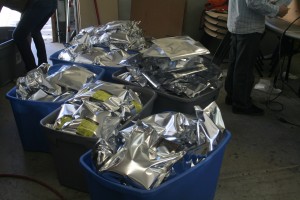
Into This:
 Mylar Bags are made of a polyester film laminated to aluminum foil creating a very strong material that creates a barrier from oxygen and moisture and creates a higher puncture resistance than any metallized polyester material. The greatest advantage of storing bulk food in Mylar Bags is that instead of having to open a 50 pound bag of rice, wheat, beans or whatever, you’re able to open a more manageable and usable sized container. While it may take several weeks or months to use up a 50 pound bag of food, a 5-8 pound bag will be used much quicker, providing less chance of spoilage, insect infestation and waste. The other popular option is of course, #10 cans, which provide the same benefits but in a more impervious container that is slightly more expensive than Mylar Bags. The advantage of Mylar over cans is that Mylar Bags do not have a fixed shape and can be stored more easily. Cost-wise, a #10 can will run you about .31. To store food in a Mylar Bag is a very simple and quick process. It requires a Mylar Bag Sealer which, if you live in Utah, can be borrowed for free from many of the LDS Canneries. Actually, it doesn’t ‘require’ a sealer, you can seal them with an iron if you need to, but it isn’t as efficient or accurate. It also requires you to purchase a few supplies (which you can also get from the LDS Canneries): empty Mylar Bags, oxygen absorbers and optionally you can get free pre-printed labels for most storage foods from the canneries as well. Once you have all your supplies, you’re ready to start sealing! I’m sure that every person who has done this has their own recommended procedure. I’m going to present this the way that works well for me and provide tips I’ve learned - which by no means is “THE” way to do it - if you have found other, more efficient methods please leave a comment, I’d love to learn from you! 1st Tip: pouring from flimsy bags (such as the ones rice often comes in) into a Mylar Bag is challenging and results in a lot of spillage (sturdy bags like sugar comes in aren’t much of an issue) Our solution is to pour several bags into a clean bin.
 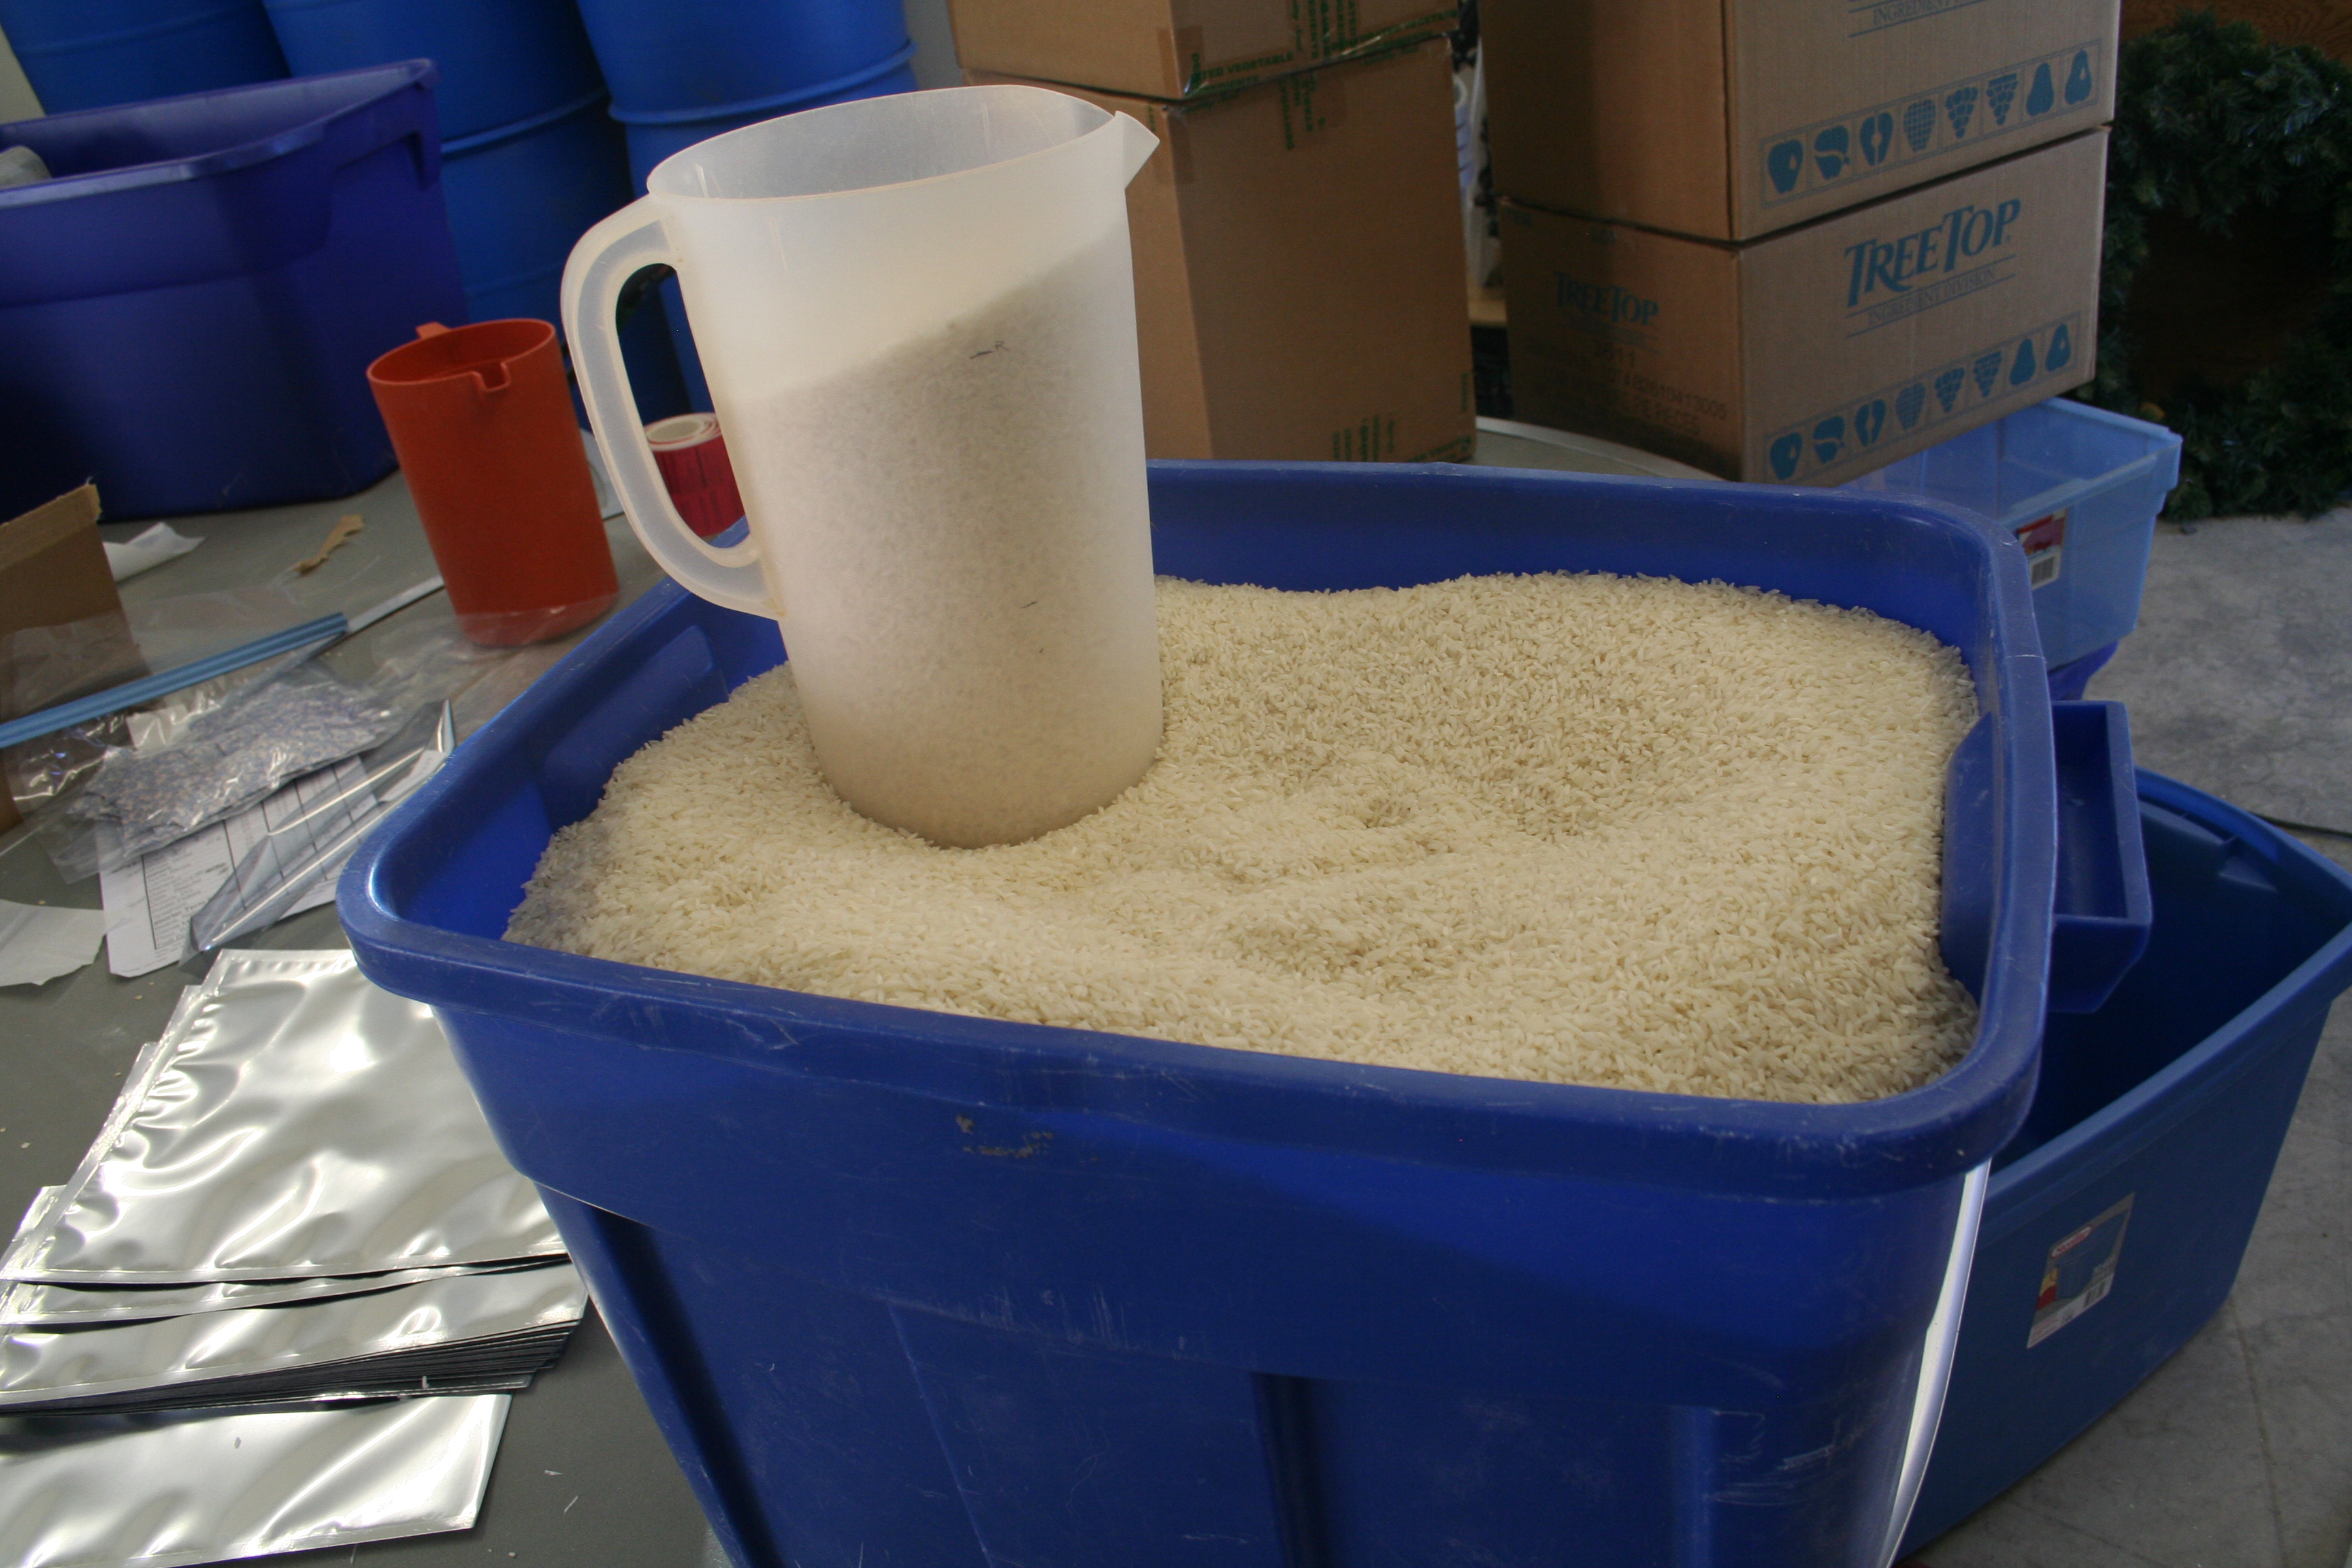 We then use a plastic pitcher to scoop out the proper volume to fill a bag. We determined the volume by filling a bag about 3/4 full - you have to leave some head-room in the bag and you don’t want to overfill it. Once we knew how much should be in a bag, we dumped it into a jug and marked off the height with marker. Our determination was that anywhere within an inch of the top of a water pitcher (like the one pictured) was about the right amount.
 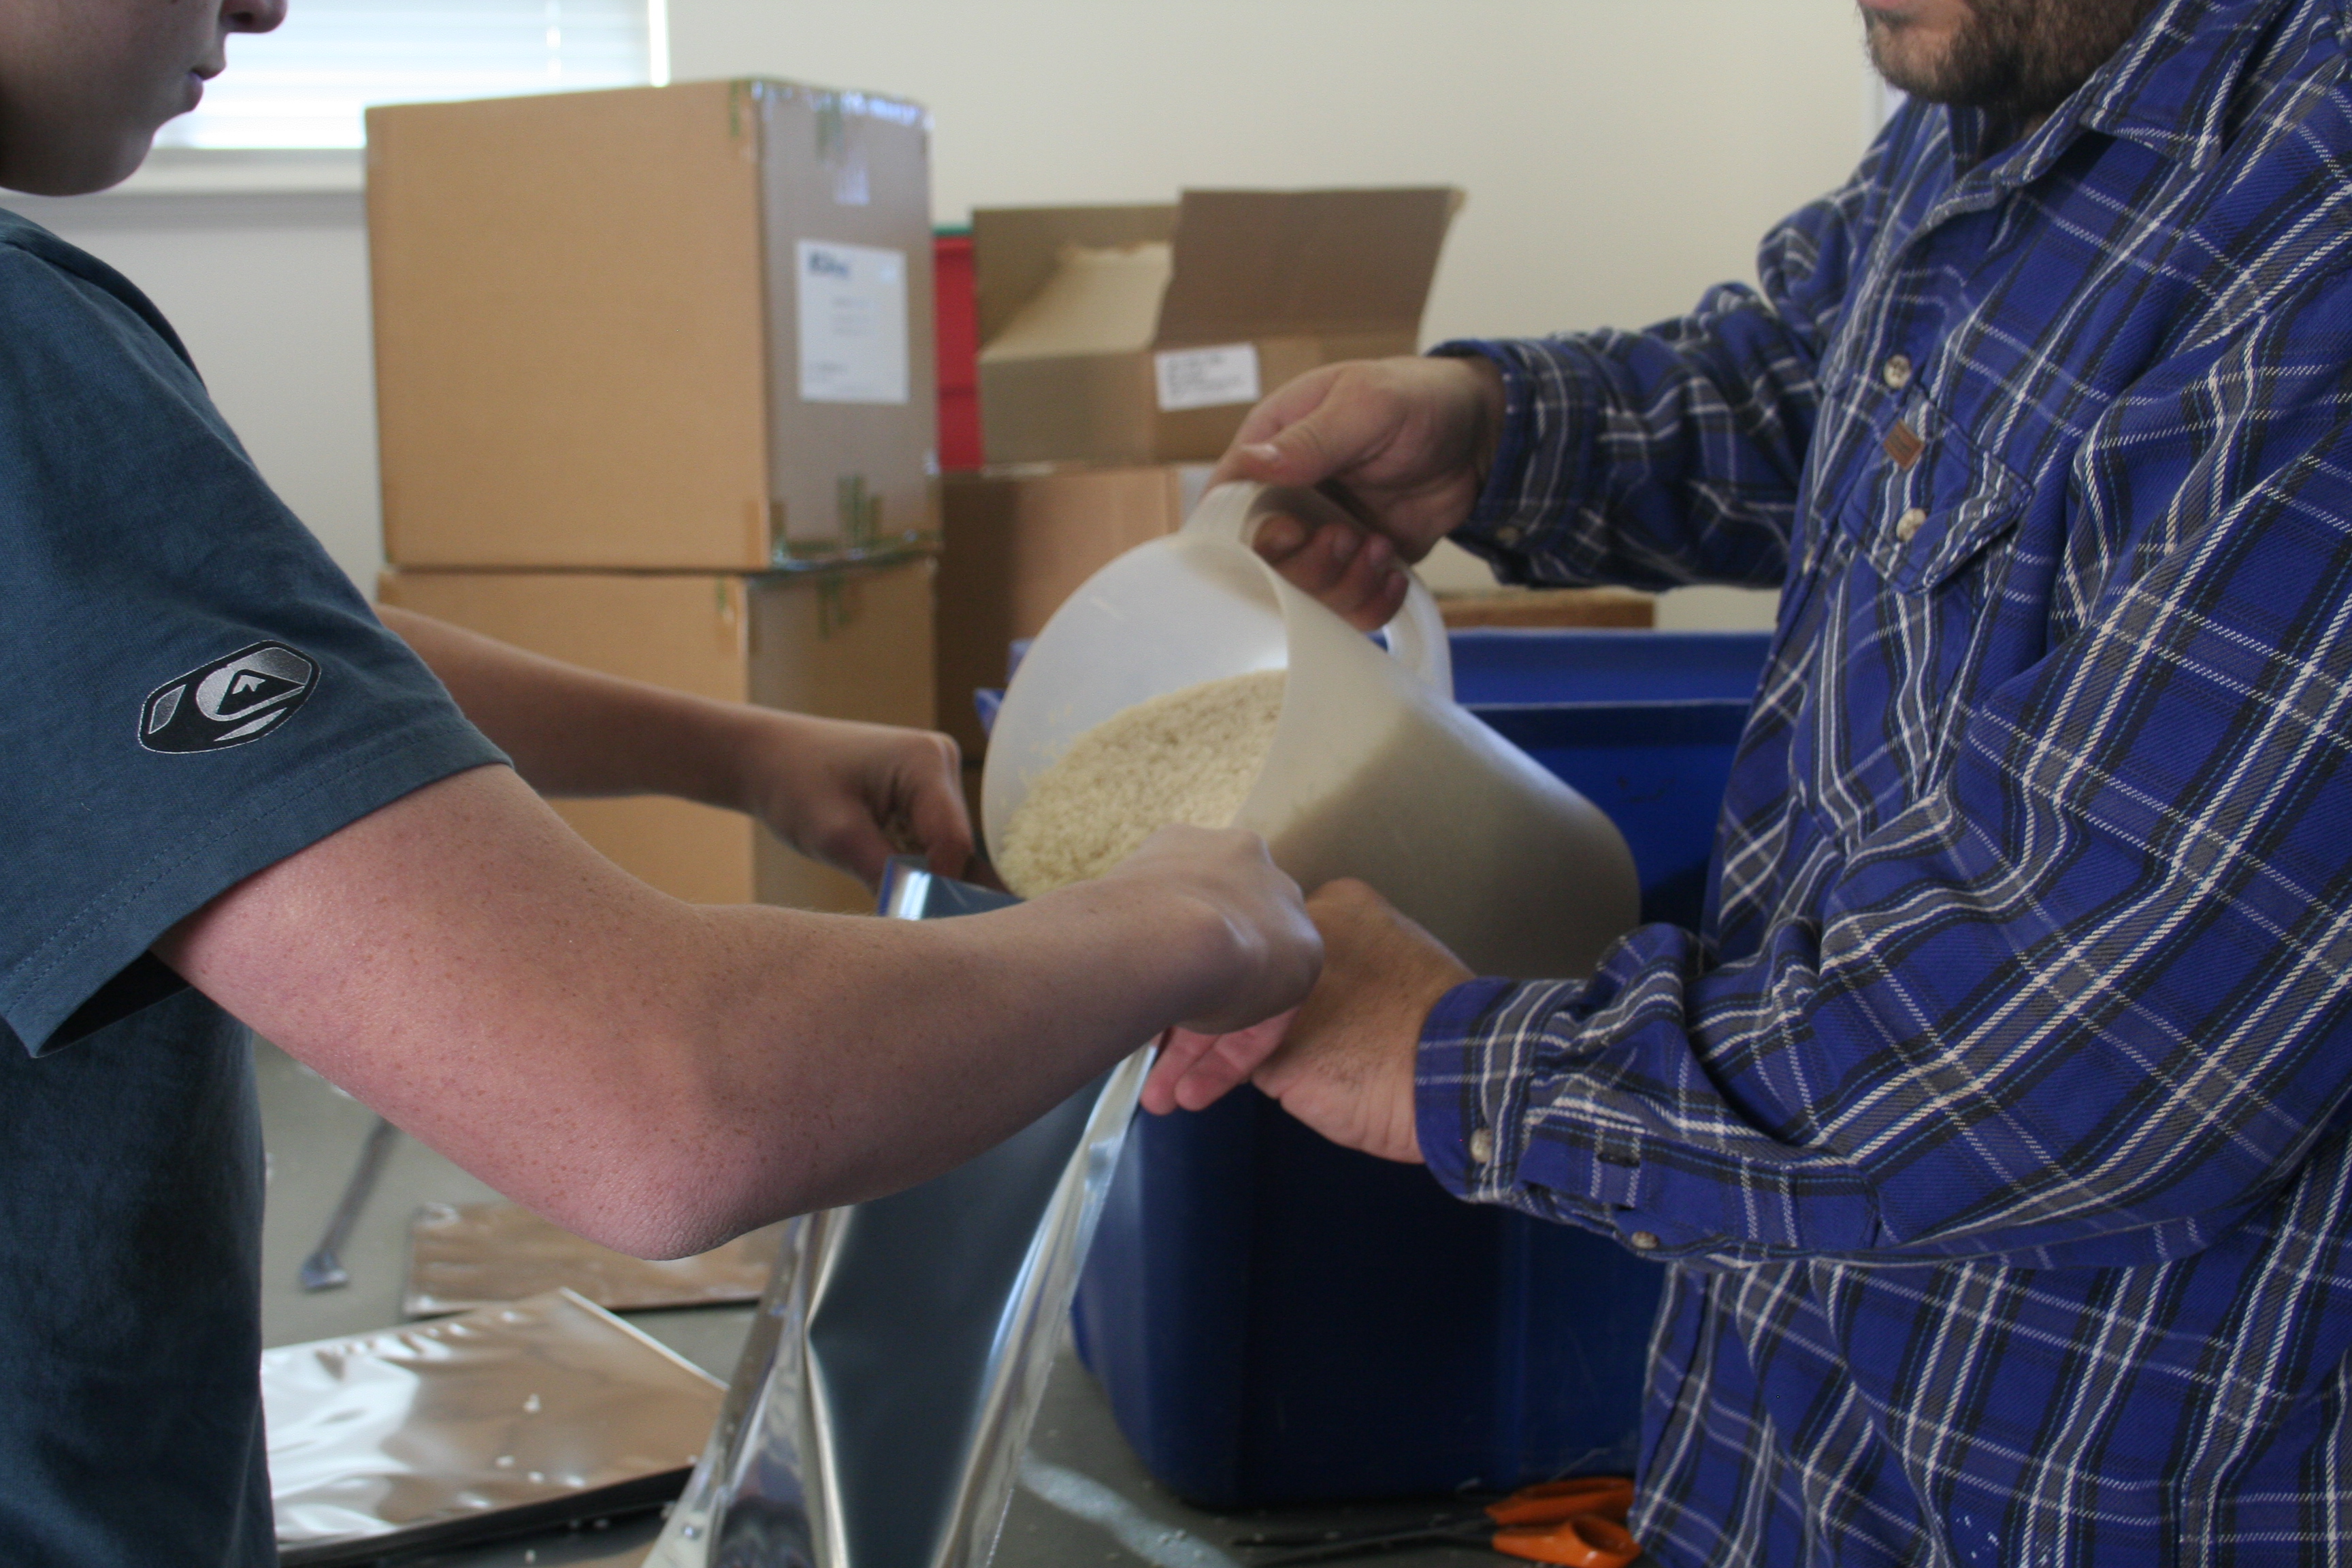 Once you’ve put food in the Mylar Bag you should add an Oxygen Absorber. This packet (see below in the bag) will absorb oxygen left in the bag which helps promote freshness and prevent infestation. NOTE: DO NOT use oxygen absorbers in sugar! (I’ve heard it will turn the sugar into a solid rock)
  Fold the top of the bag over the side to get as much air out as possible (especially if you aren’t using an absorber) before sealing it.
 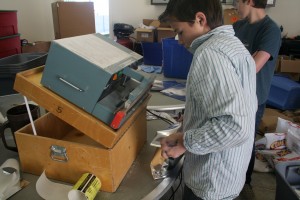 Hold the bag closed, ensuring that the top is even, and insert it into the sealer. The sealer we were using has a foot pedal that closes the sealer and heat seals it. A heat seal requires 6 seconds of heat application. 2nd Tip: If you are storing flour or another type of very loose or sloppy product, you must make sure that the area that the heat (seal) will be applied is clean. Leaving food product in the seal area can result in a bad or failed seal.
 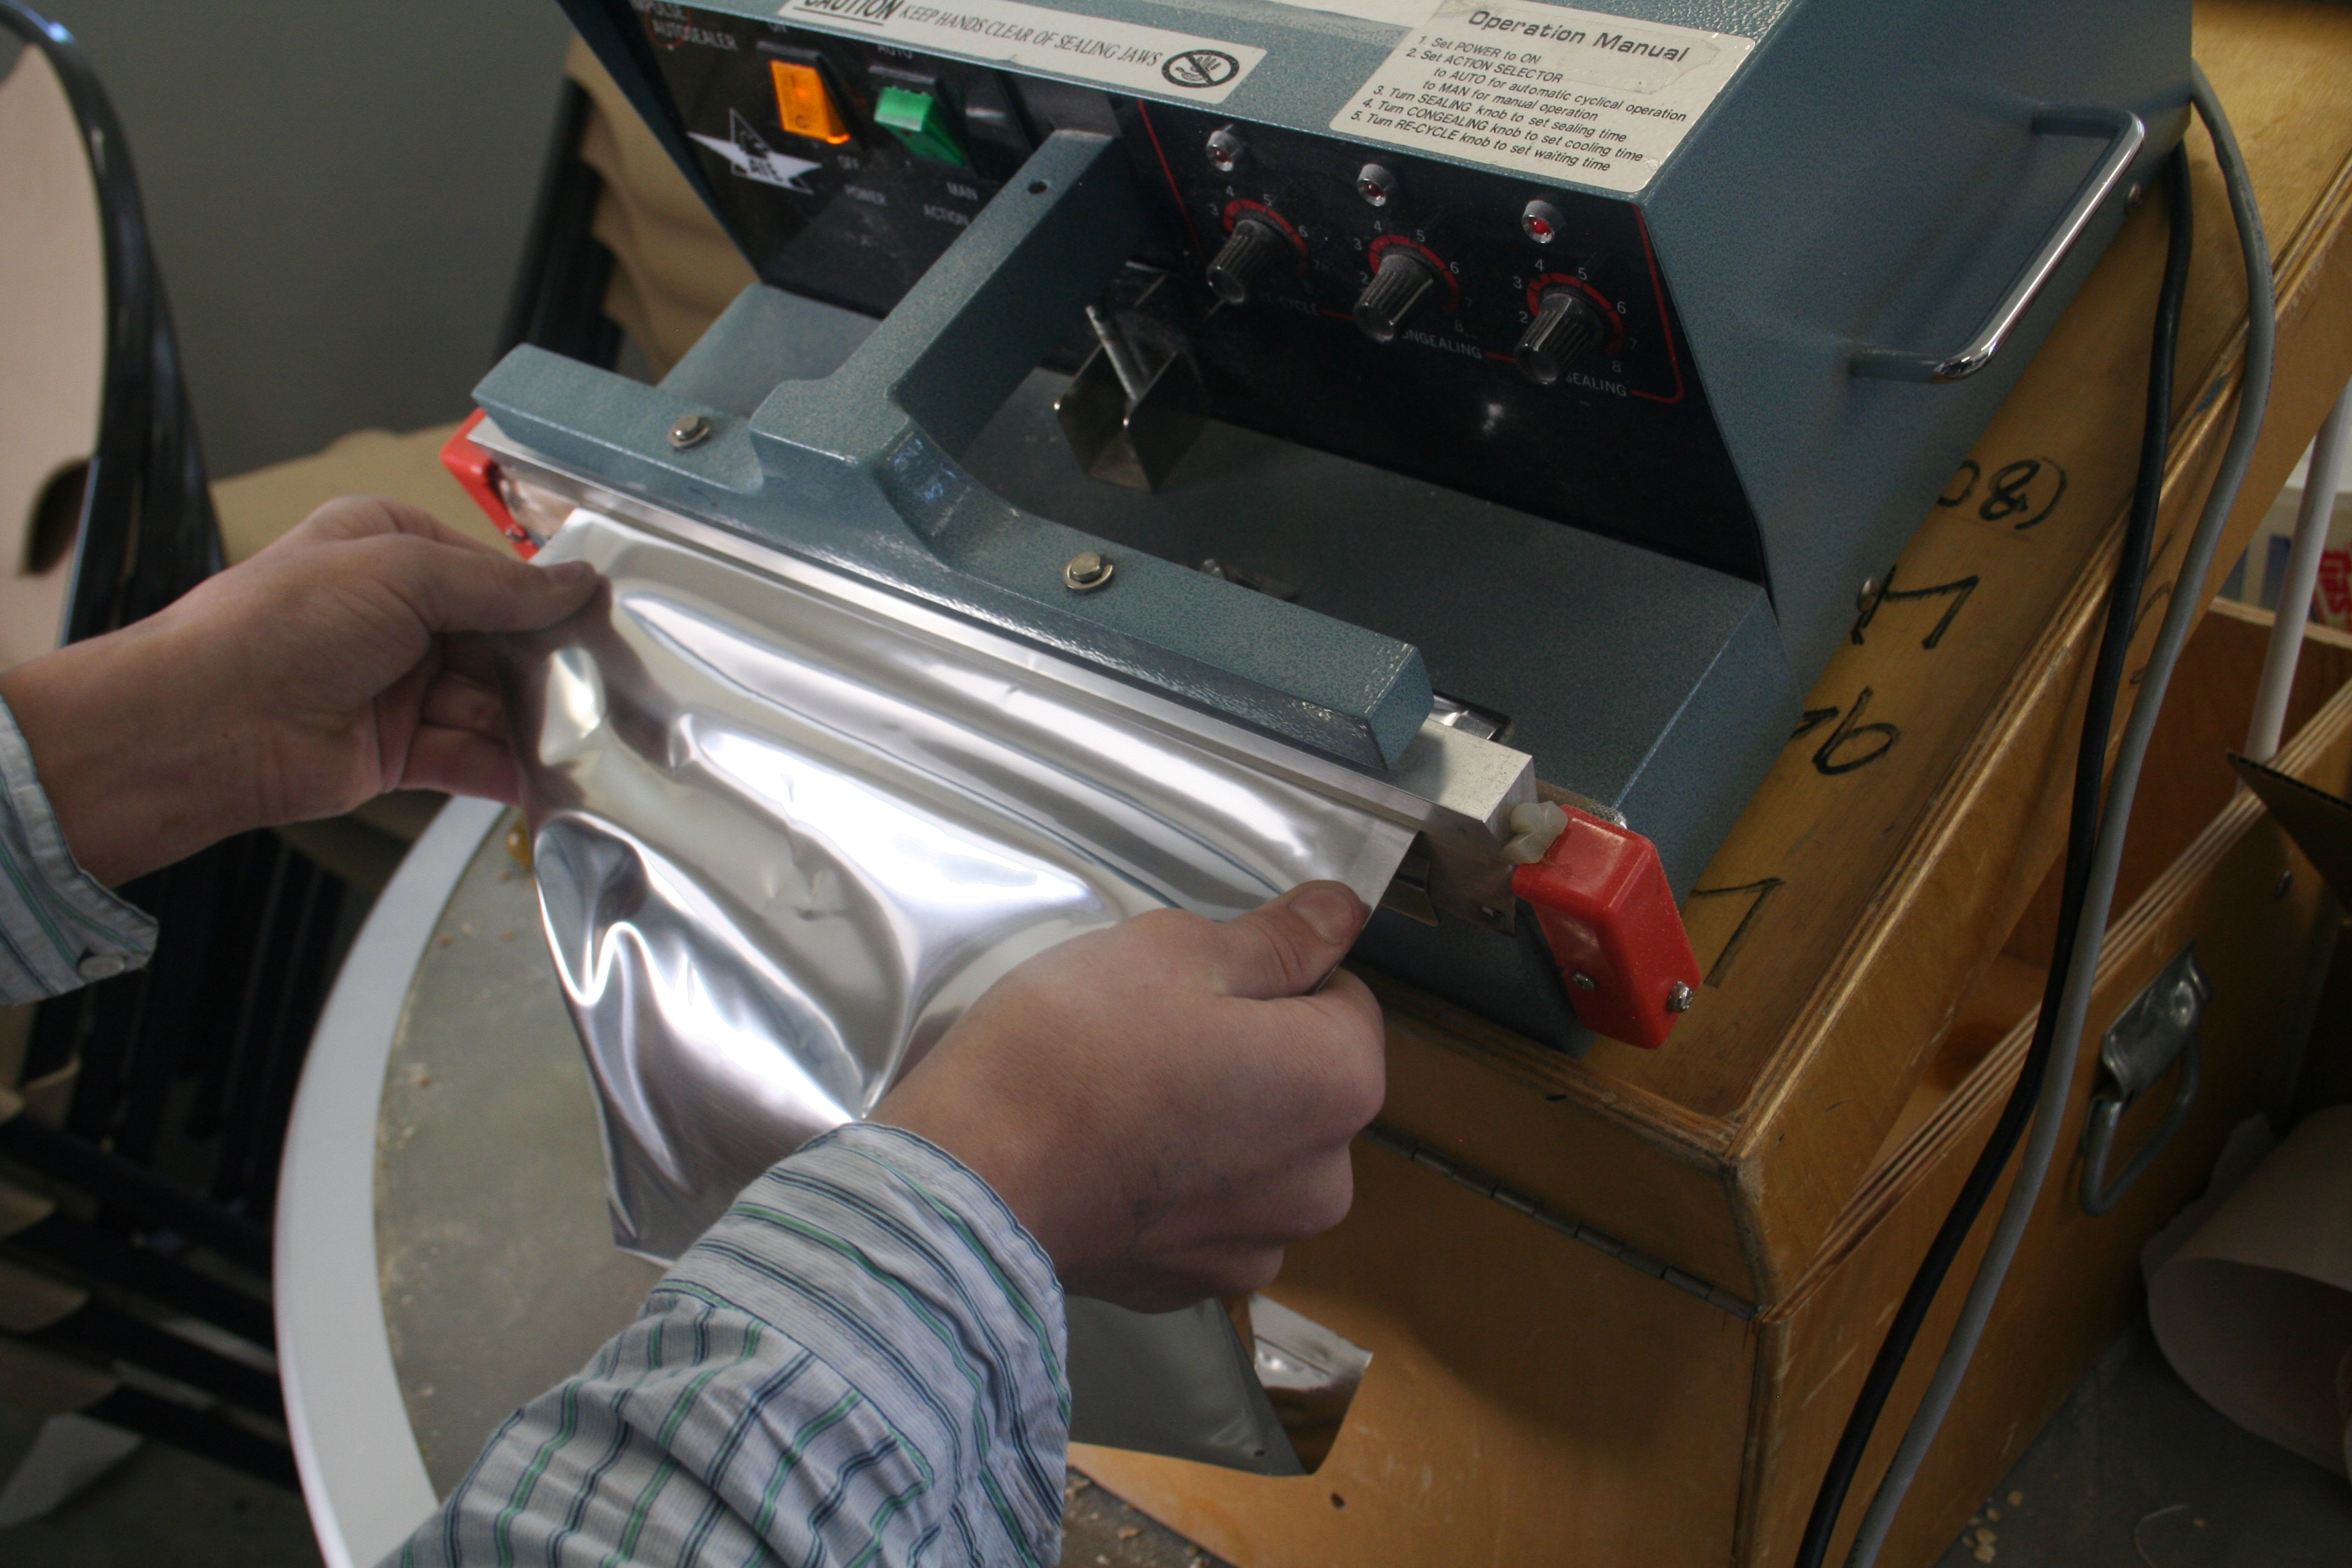 During the 6 seconds that the seal is being made is an excellent time to stick the label on the center of the bag.
 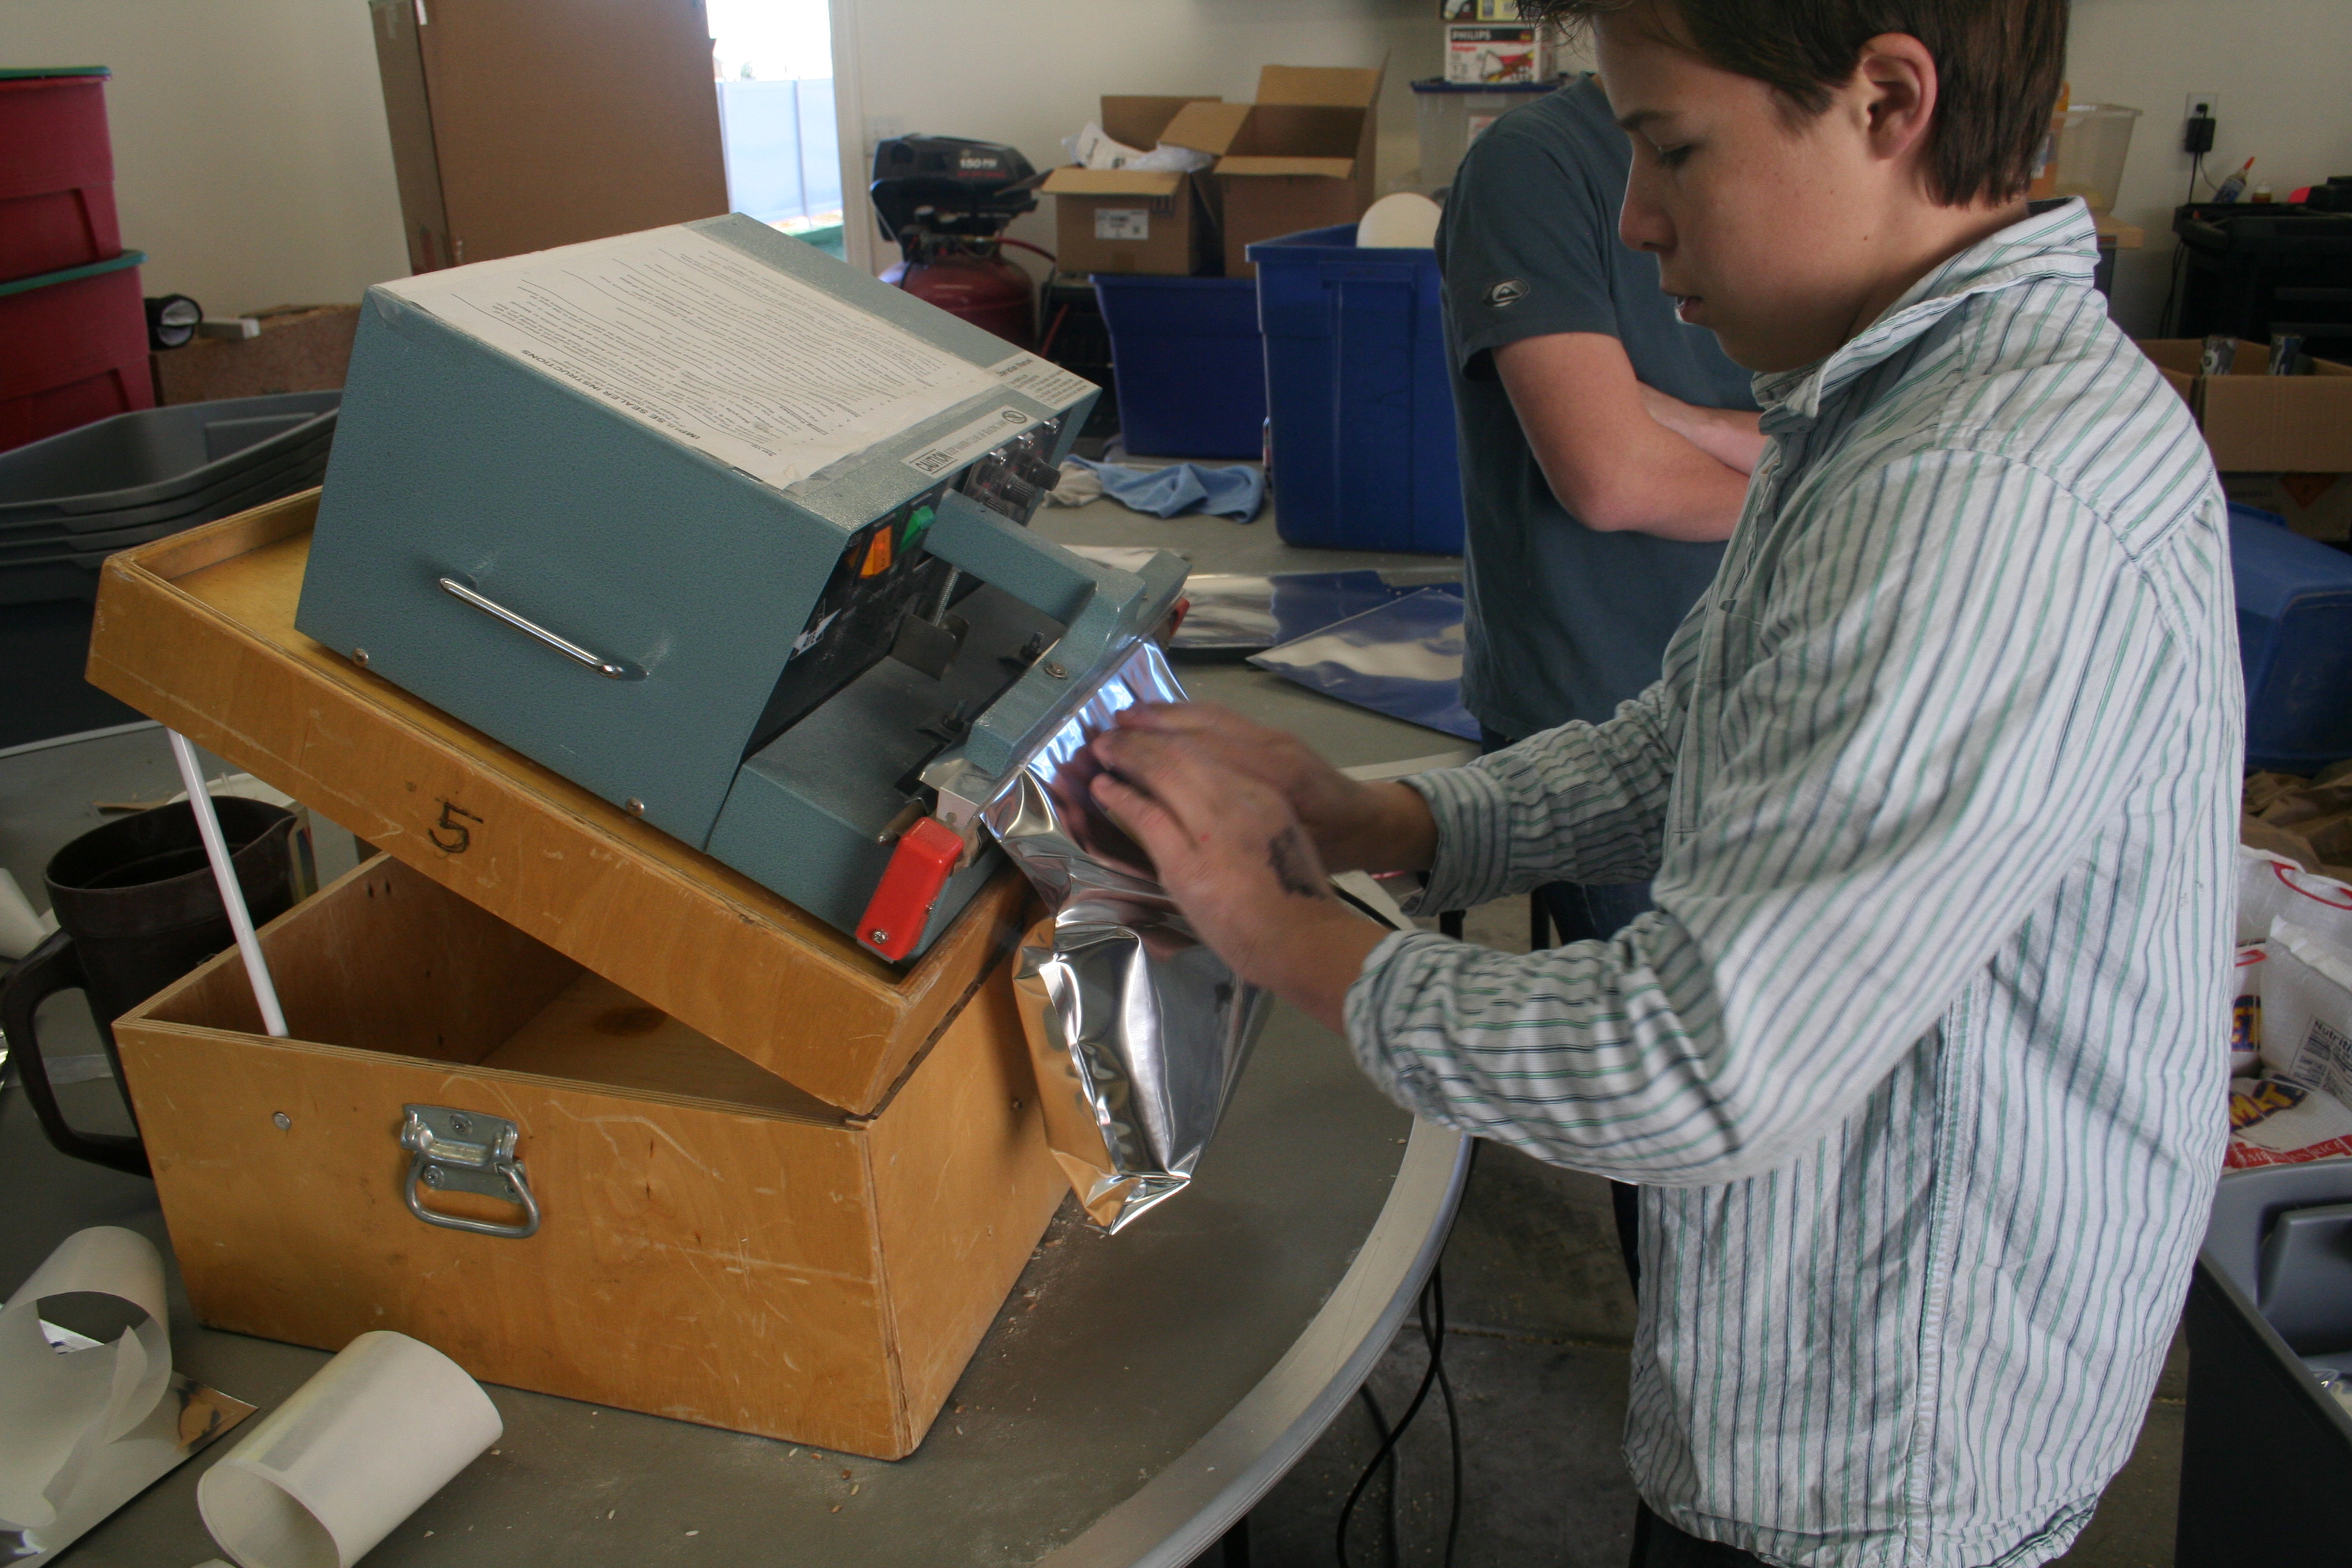 After 6 seconds, our sealer drops the bag - and it’s ready to be put into a transport bin (see picture at top). Tip #3: Make sure you write the date (even if it’s just “Nov 08”) on the label! Your label should tell you what product is inside and the date it was packaged. You might think you’ll just ‘know’ that info, but believe me, you won’t!
 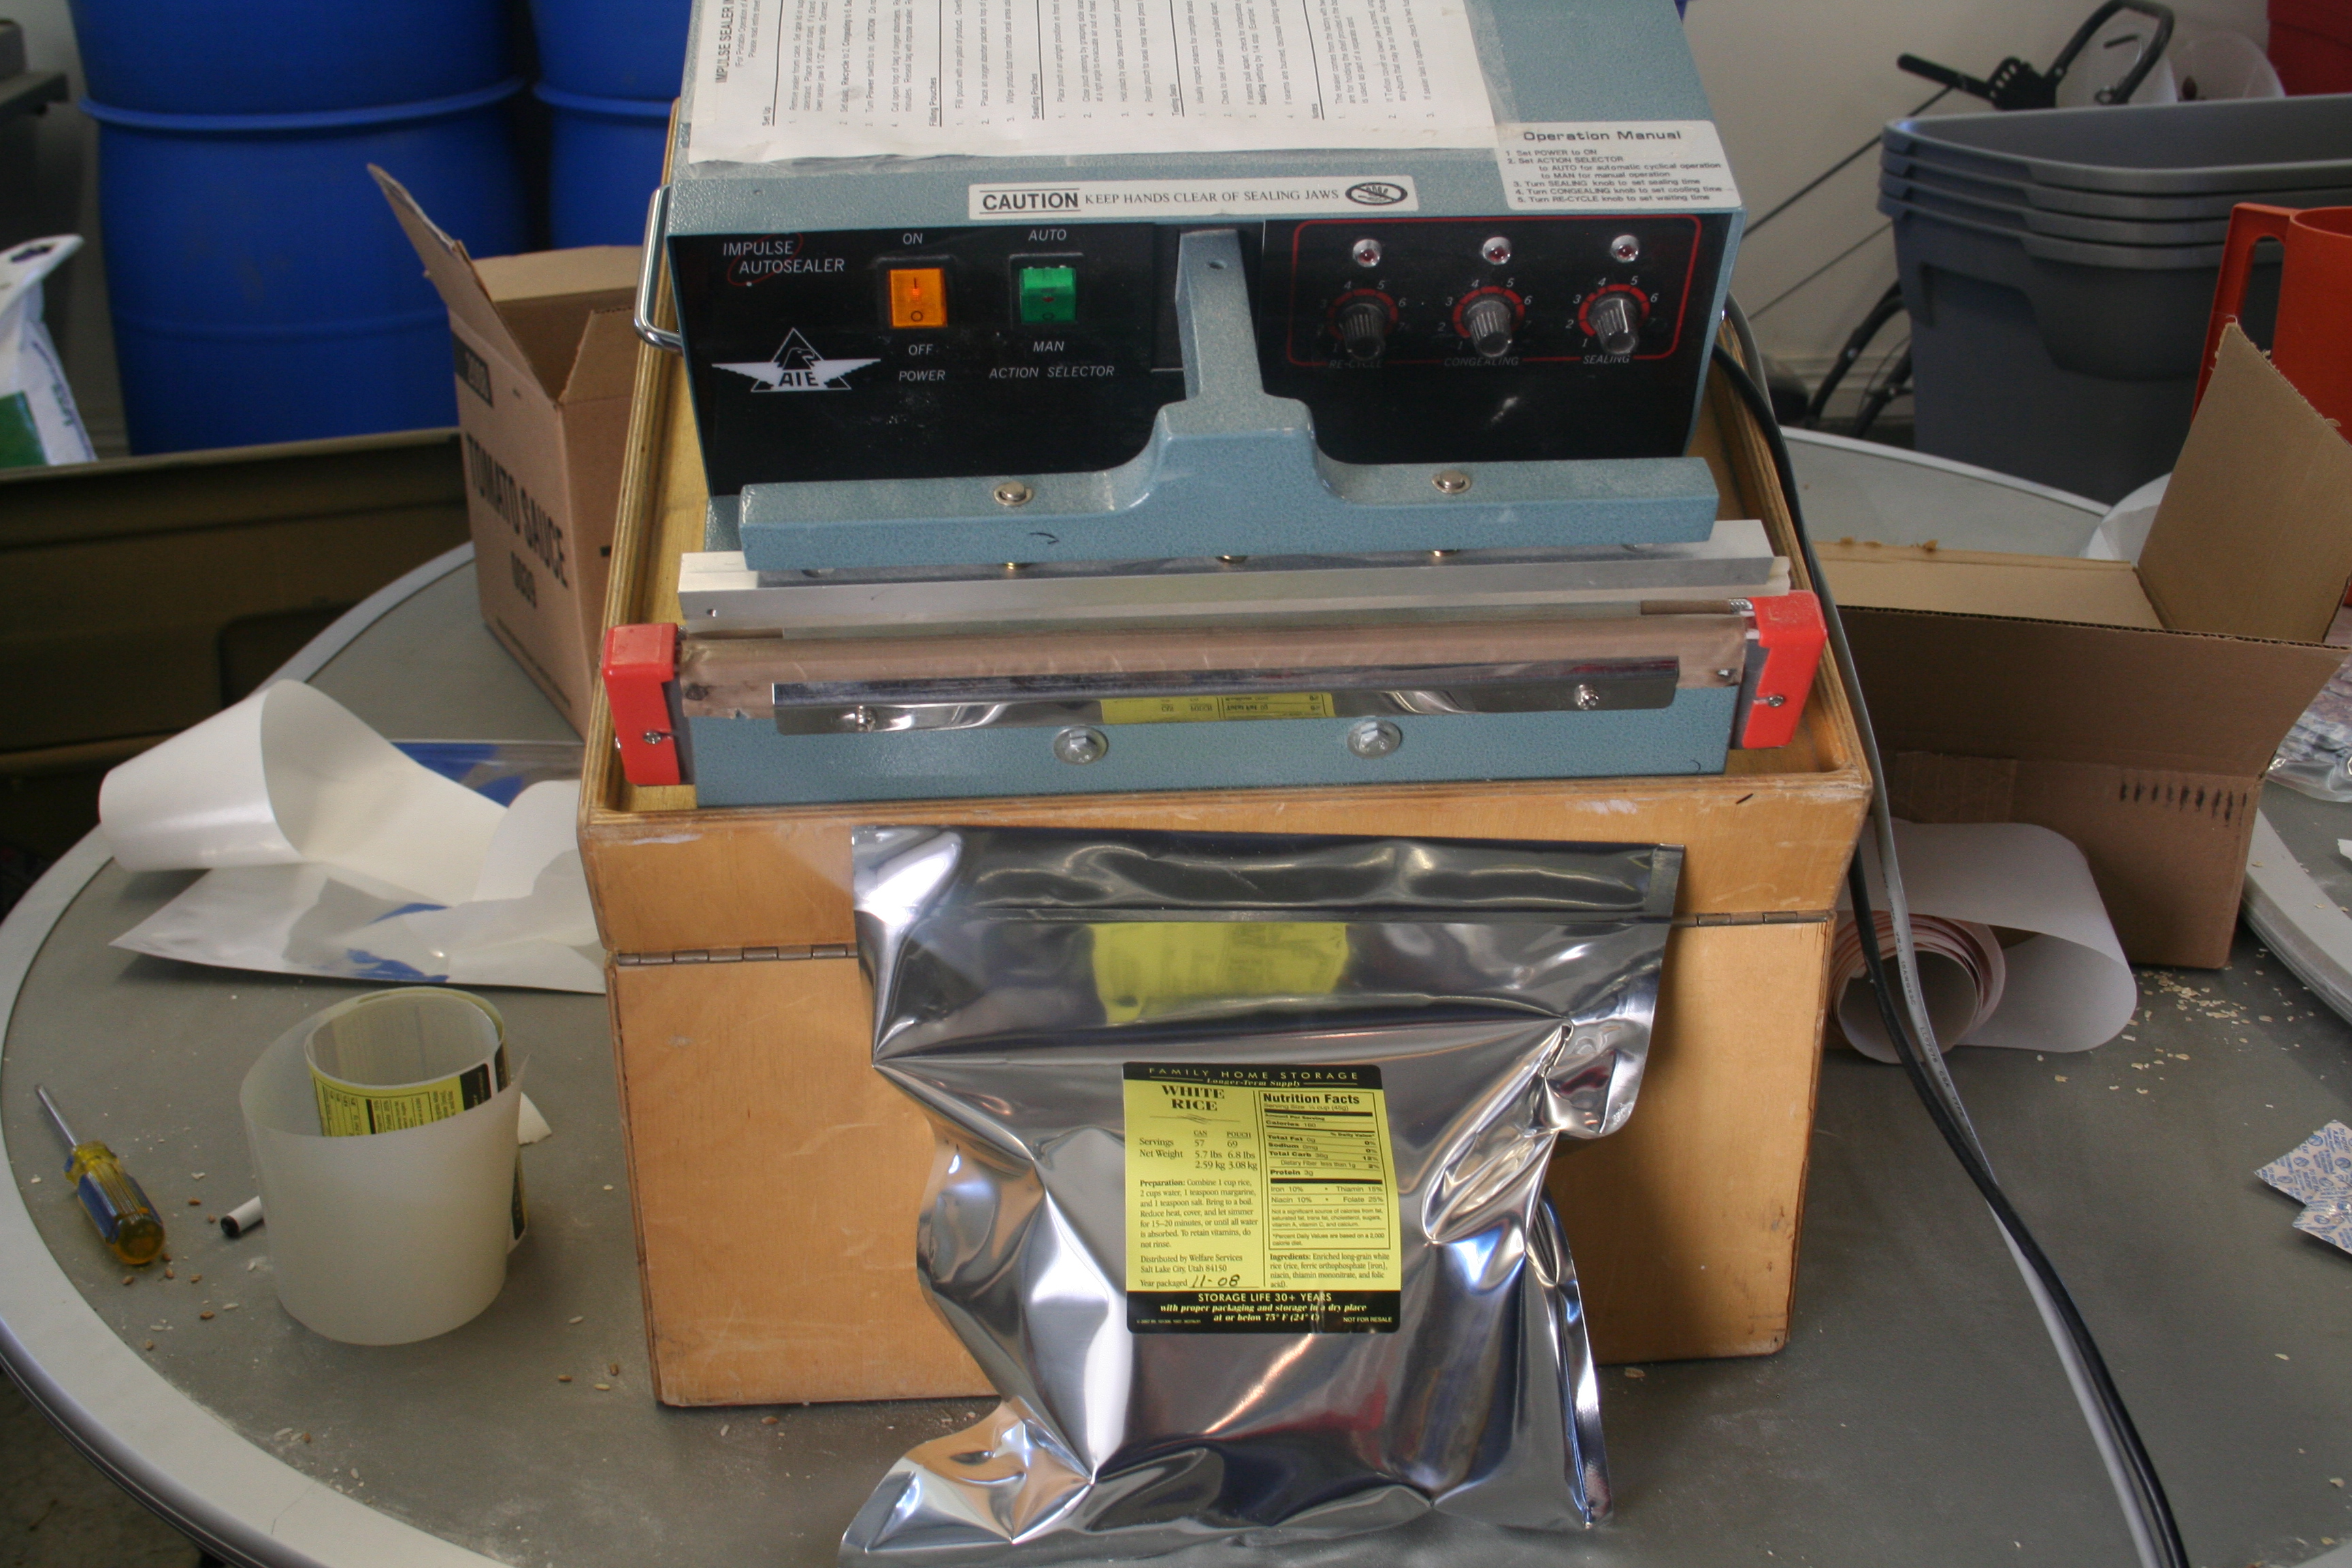 That’s it! While the entire job can be done by one person, it is much easier to have a couple people helping so you can assembly line the entire process. Today’s project was to bag about 1500 pounds worth of food and we were finished in about 2 hours. We go over some atypical storage techniques you can use with Mylar Bags in this follow up post and review several comments in this final post in the series. Do you have any other hints or tips for those storing in Mylar Bags? If so, please share it in a comment! We will be doing a follow up post discussing the best tips, tricks, stories and ideas we receive on Mylar Bag storage. If you have any further questions about storing in Mylar Bags, please feel free to ask in the comments.