

Increase short-life supply with vacuum seal jars
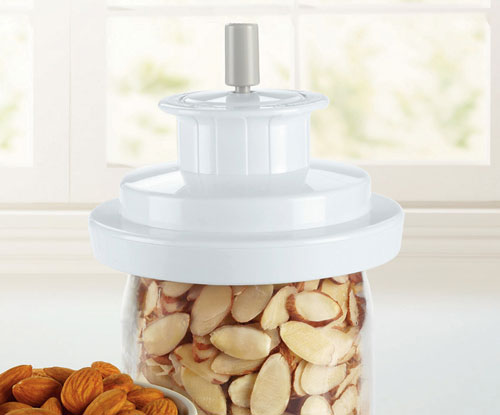
As you work to build your short-life food storage, you should begin to consider techniques to help extend the shelf life of your food. The longer it will last, the more you can store. In addition to freezing, dehydrating, canning, smoking, pickling, and storing in a dark, cool place, simply removing the oxygen from food will make it last much longer. foodsaver.com Many are familiar with vacuum bag sealers that allow you to suck the air out and seal it shut. Freezing food this way can extend it’s life up to five times. It also dramatically reduces or eliminates freezer burn. Many aren’t aware of what else their sealers can do though. Many models come with a utility port where you can connect attachments, such as a jar sealer. An inexpensive but powerful addition to your preservation toolkit, vacuum sealing jars should become part of your cooking and food storage routine. Are you tired of raisins going stale and brown sugar going hard? I am. It won’t be happening at my house anymore. Suck the air out! Vacuum sealing is not a substitute for canning, but it is an effective way to prolong the life of food. Jellies, mustard, spices, nuts, rice, flour, and dried fruits and vegetables are just a few examples of what you can store, prolonging shelf life years and years. The jar sealer fits on your own Ball® and Kerr® Mason jars and comes in wide and regular-mouth sizes. I purchased the one by FoodSaver to go with the vacuum sealer I already own. Using the attachment is even easier than sealing bags. First, wash your jars, lids, and rings in hot, soapy water. I like the wide-mouth jars for this type of storage as they are much easier to get things in and out of and easier to clean. I can actually fit my fist into the jar since I have small hands. 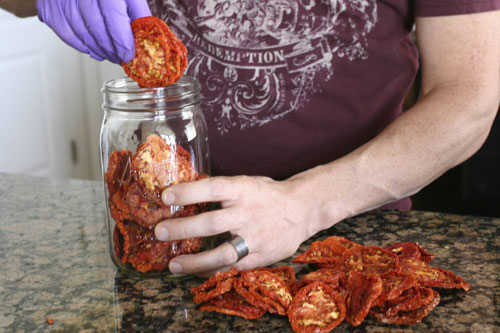 Next, fill the jars. Use a glove so that you don’t leave the moisture and oils from your hands on the food. Leave one inch of space between the food and the top of the jar.
 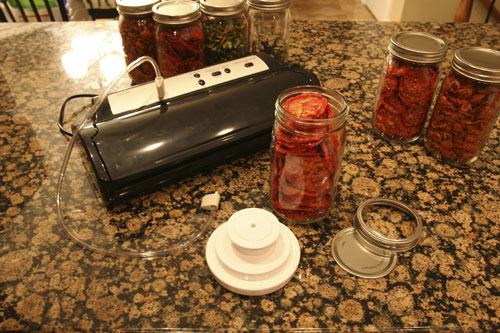 Connect the utility hose to the vacuum sealer and then engage the lock. Now place a lid on top of the jar. Do not attempt to seal with the ring. You can use it later to prevent the lid from getting knocked, but it is not necessary with jar sealing.
 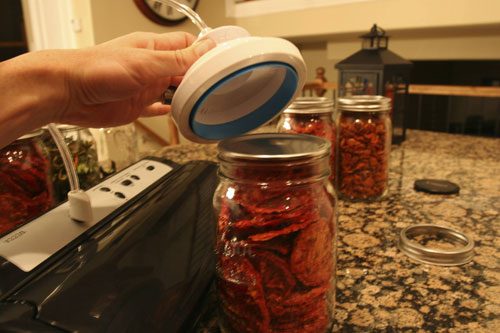 Then, connect the other end of the hose to the jar attachment and press the attachment down firmly over the top of the jar. Your vacuum sealer should have a special button for sealing canisters. Once the vacuum stops, pull the hose out of the attachment to release the pressure. You can then remove the attachment from the jar by pulling directly upward. Don’t forget to disengage the lock on the sealer once you are finished. Once you are done, you will have jars of food ready for the shelves. Open the sealed jars by placing a teaspoon between the edge of the lid and the highest part of the threads on the bottle opening and prying down.
 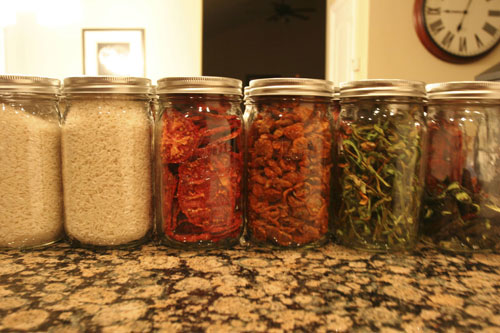 Here, you can see dehydrated tomatoes, cherry tomatoes, peppers, and jalapenos from this summer’s harvest. I store a jar of each item in the kitchen pantry and the rest go in the store room. Remember, this is food that you are eating regularly and rotating. You are only sealing it to prolong it’s shelf-life. Keep your sealer on your counter. Use it every day. There is no danger or harm in resealing your jars again and again.